> ## Documentation Index
> Fetch the complete documentation index at: https://docs.proddyai.app/llms.txt
> Use this file to discover all available pages before exploring further.
# Boards
> Boards is a visual task management space that helps teams organize work, track progress, and collaborate effectively. It allows users to manage tasks as cards across lists and views such as Kanban, Table, and Gantt, providing clear visibility into workflows and deadlines.
**Accessing the Boards Tab**
To access the boards tab
1. Log in to your workspace.
2. Select a channel from the left sidebar (for example, **general**).
3. In the top navigation bar, click on the **Boards** tab.
The boards view will open, displaying all available boards for the selected channel.
Note - By default, a new board comes with four pre-created lists:
* Planning
* Developing
* Reviewing
* Completed
## **Board Views**
The board supports multiple views to help users visualize and manage work in different ways.
 ### **Switching Board Views**
To switch between board views:
1. Open the **Boards** tab in a channel.
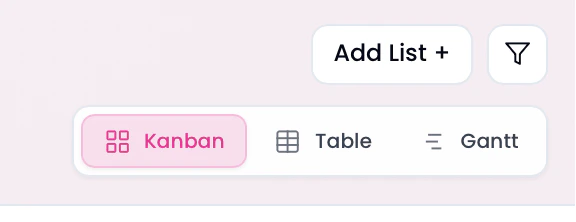
2. Locate the view selector at the top-right of the board.
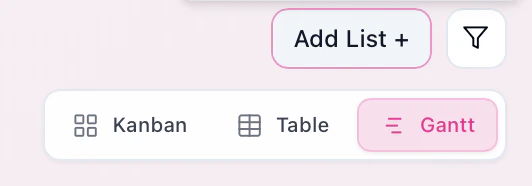
3. Select one of the available views:
* **Kanban** – Displays tasks as cards organized into lists.
* **Table** – Displays tasks in a structured, table format.
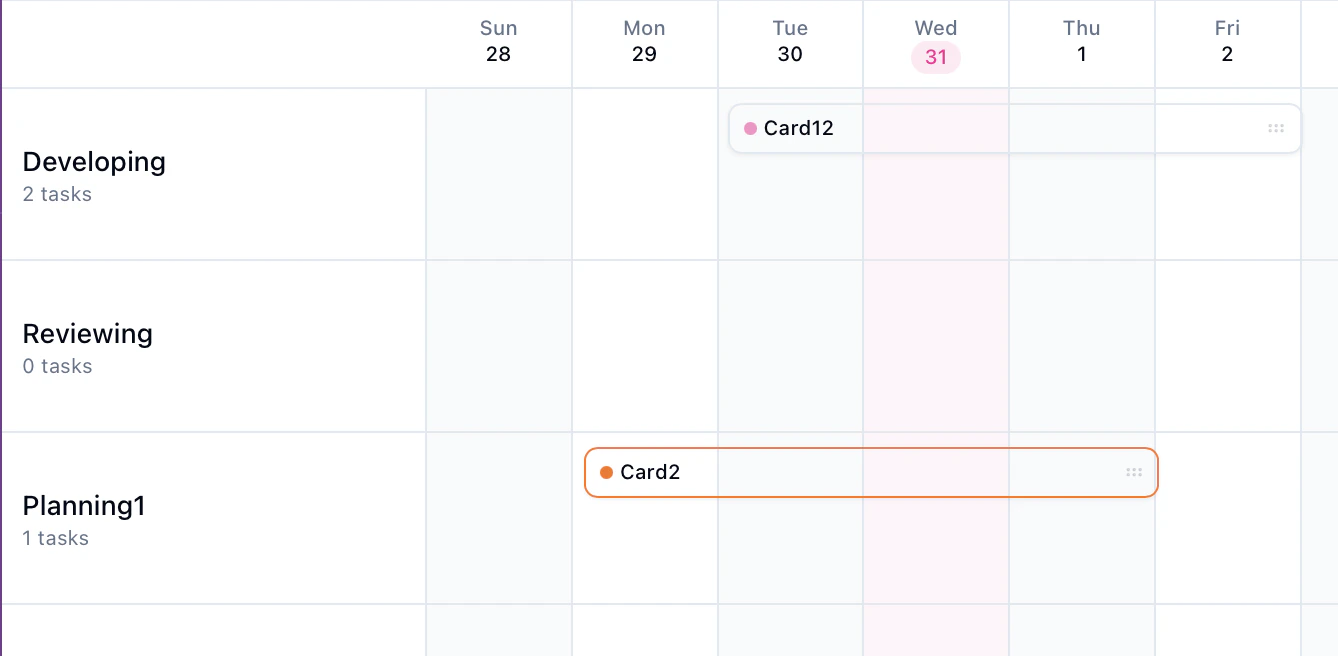
* **Gantt** – Displays tasks on a timeline for project planning.
The selected view will be applied instantly.
### **Creating a new List**
To create a new list
1. Open the board tab in a channel
2. Click on the add list button on the top right of the board
3. A dialog box will appear prompting to enter the title of the list
4. Enter the title
5. Click on the add button
The new list will be added to the board immediately.
***
### **Renaming List**
To rename a list:
1. Open the **Boards** tab in a channel.
2. Locate the list you want to rename.
3. Click on the **three-dot (⋯) menu** on the top-right corner of the list.
4. Select the \*\*Edit List \*\* option.
5. A dialog box will appear prompting to enter the new Name of the list
6. Enter the new name for the list.
7. Click on the save button
The list name will be updated immediately.
### **Deleting a List**:
To delete a list:
1. Open the **Boards** tab in a channel.
2. Locate the list you want to delete.
3. Click on the **three-dot (⋯) menu** on the top-right corner of the list.
4. Select the \*\*Delete List \*\* option.
5. A dialog box will appear to confirm it.
6. Click on delete
The list will be deleted immediately.
### **Adding a Card**
Cards represent individual tasks or work items within a list. To add a new card
To add a card:
1. Open the **Boards** tab in a channel.
2. Locate the list where you want to add a card.
3. Click on the **+ Add Card** button at the bottom of the list.
4. Enter a title and fill in the details for the card.
5. Click on add card
A new card will be added immediately
### **Switching Board Views**
To switch between board views:
1. Open the **Boards** tab in a channel.
2. Locate the view selector at the top-right of the board.
3. Select one of the available views:
* **Kanban** – Displays tasks as cards organized into lists.
* **Table** – Displays tasks in a structured, table format.
* **Gantt** – Displays tasks on a timeline for project planning.
The selected view will be applied instantly.
### **Creating a new List**
To create a new list
1. Open the board tab in a channel
2. Click on the add list button on the top right of the board
3. A dialog box will appear prompting to enter the title of the list
4. Enter the title
5. Click on the add button
The new list will be added to the board immediately.
***
### **Renaming List**
To rename a list:
1. Open the **Boards** tab in a channel.
2. Locate the list you want to rename.
3. Click on the **three-dot (⋯) menu** on the top-right corner of the list.
4. Select the \*\*Edit List \*\* option.
5. A dialog box will appear prompting to enter the new Name of the list
6. Enter the new name for the list.
7. Click on the save button
The list name will be updated immediately.
### **Deleting a List**:
To delete a list:
1. Open the **Boards** tab in a channel.
2. Locate the list you want to delete.
3. Click on the **three-dot (⋯) menu** on the top-right corner of the list.
4. Select the \*\*Delete List \*\* option.
5. A dialog box will appear to confirm it.
6. Click on delete
The list will be deleted immediately.
### **Adding a Card**
Cards represent individual tasks or work items within a list. To add a new card
To add a card:
1. Open the **Boards** tab in a channel.
2. Locate the list where you want to add a card.
3. Click on the **+ Add Card** button at the bottom of the list.
4. Enter a title and fill in the details for the card.
5. Click on add card
A new card will be added immediately
 ## **Editing a Card**
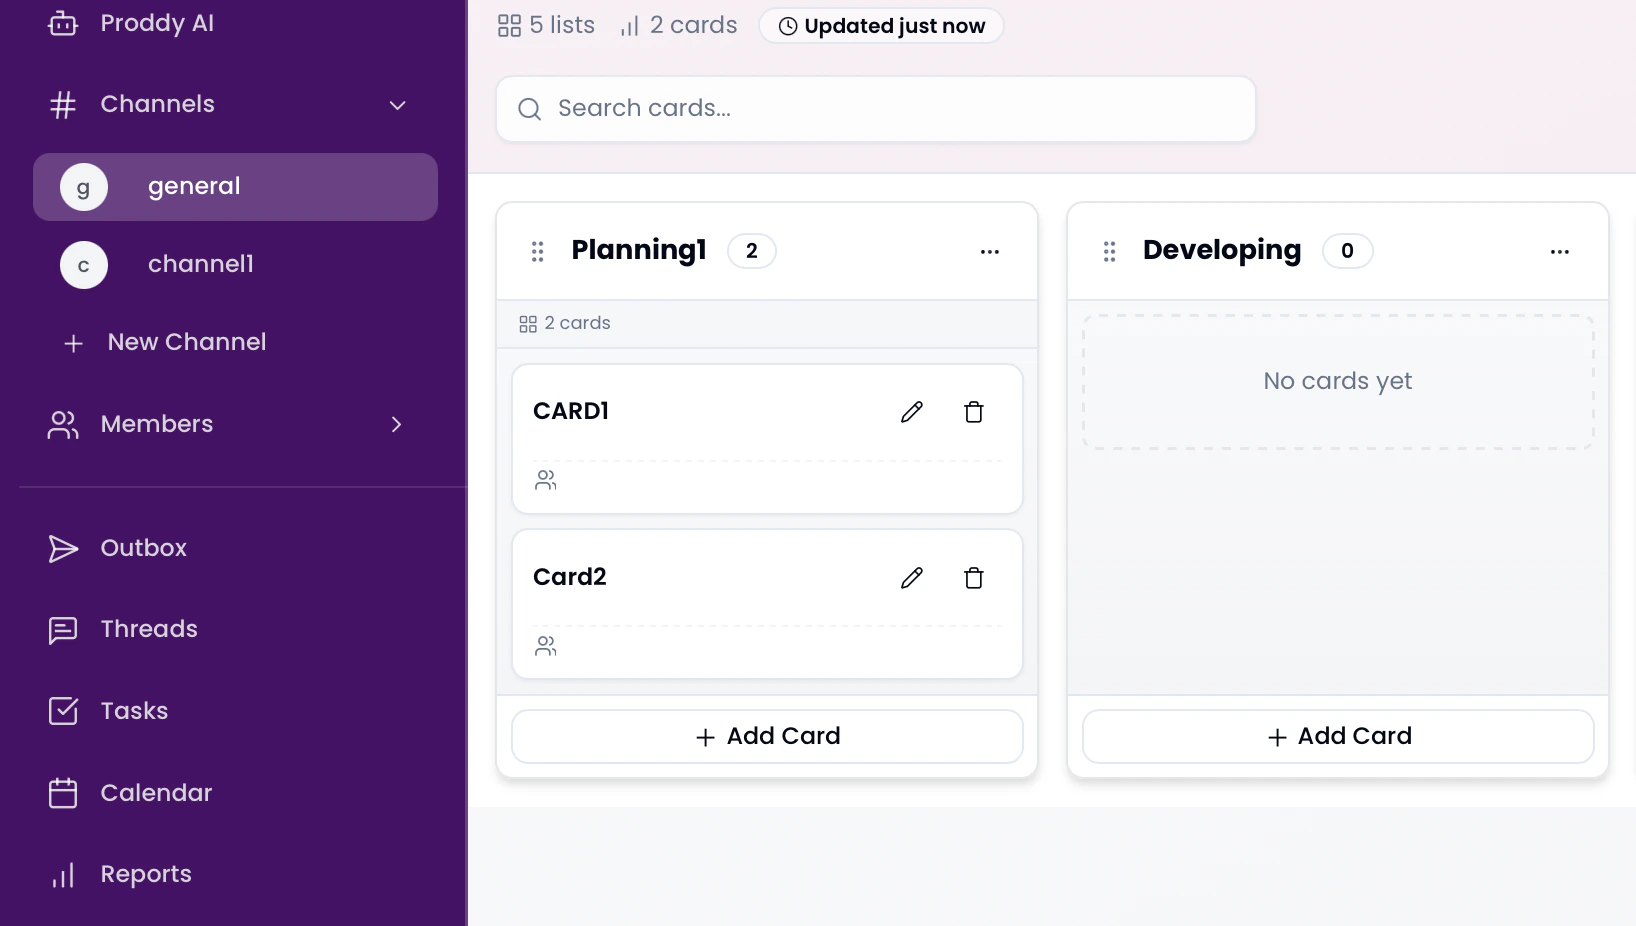
You can edit a card to update its details, assignment, priority, or due date.
To edit a card:
1. Open the **Boards** tab in a channel.
2. Locate the card you want to edit.
3. Click on the **edit (pencil) icon** on the card
4. Update the required details, such as:
* Card title
* Description
* Labels
* Assigned members
* Priority
* Due date
5. Save the changes.
The updated details will be reflected on the card immediately.
## **Deleting a Card**
You can delete a card to permanently remove it from the board.
To delete a card:
1. Open the **Boards** tab in a channel.
2. Locate the card you want to delete.
3. Click on the **delete (garbage can) icon**, located to the right of the edit (pencil) icon on the card.
The card will be deleted immediately.
Note:No confirmation dialog is shown before deleting a card.
## **Reordering Lists**
You can rearrange lists on a board to match your preferred workflow.
## **Editing a Card**
You can edit a card to update its details, assignment, priority, or due date.
To edit a card:
1. Open the **Boards** tab in a channel.
2. Locate the card you want to edit.
3. Click on the **edit (pencil) icon** on the card
4. Update the required details, such as:
* Card title
* Description
* Labels
* Assigned members
* Priority
* Due date
5. Save the changes.
The updated details will be reflected on the card immediately.
## **Deleting a Card**
You can delete a card to permanently remove it from the board.
To delete a card:
1. Open the **Boards** tab in a channel.
2. Locate the card you want to delete.
3. Click on the **delete (garbage can) icon**, located to the right of the edit (pencil) icon on the card.
The card will be deleted immediately.
Note:No confirmation dialog is shown before deleting a card.
## **Reordering Lists**
You can rearrange lists on a board to match your preferred workflow.
 To reorder lists:
1. Open the **Boards** tab in a channel.
2. Locate the list you want to move.
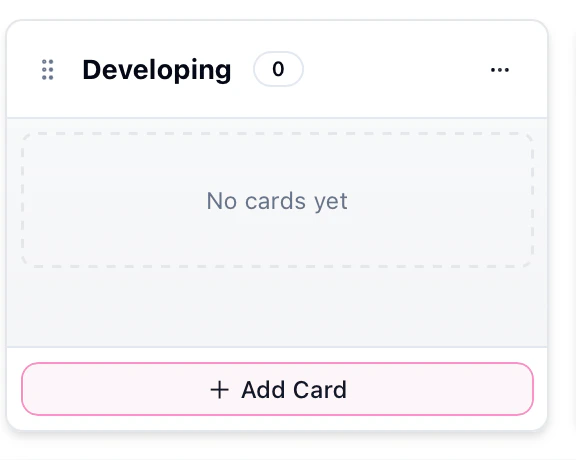
3. Hover over the **six-dot (⋮⋮) icon** next to the list name.
4. When the cursor changes, click and hold the icon.
5. Drag the list to the desired position on the board.
6. Release the mouse button to place the list.
The list order will be updated immediately.
## **Table View**
Table View displays board data in a structured, row-and-column format, making it easier to view, search, and manage multiple cards at once.
To reorder lists:
1. Open the **Boards** tab in a channel.
2. Locate the list you want to move.
3. Hover over the **six-dot (⋮⋮) icon** next to the list name.
4. When the cursor changes, click and hold the icon.
5. Drag the list to the desired position on the board.
6. Release the mouse button to place the list.
The list order will be updated immediately.
## **Table View**
Table View displays board data in a structured, row-and-column format, making it easier to view, search, and manage multiple cards at once.
 To switch to Table View:
1. Open the **Boards** tab in a channel.
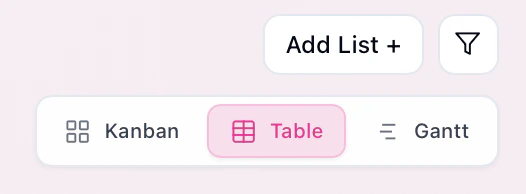
2. Locate the view selector at the top-right of the board.
3. Click on **Table**.
The board will switch to Table View instantly.
### **Switching to Gantt View**
To switch to Gantt View:
1. Open the **Boards** tab in a channel.
2. Locate the view selector at the top-right of the board.
3. Click on **Gantt**.
The board will switch to Gantt View instantly.
To switch to Table View:
1. Open the **Boards** tab in a channel.
2. Locate the view selector at the top-right of the board.
3. Click on **Table**.
The board will switch to Table View instantly.
### **Switching to Gantt View**
To switch to Gantt View:
1. Open the **Boards** tab in a channel.
2. Locate the view selector at the top-right of the board.
3. Click on **Gantt**.
The board will switch to Gantt View instantly.
 ## **Using Filters**
Filters help you narrow down cards on a board based on specific criteria, making it easier to focus on relevant tasks.
## **Using Filters**
Filters help you narrow down cards on a board based on specific criteria, making it easier to focus on relevant tasks.
 ### **Applying Filters**
To apply filters on a board:
1. Open the **Boards** tab in a channel.
2. Click on the **Filter (funnel) icon** located at the top-right of the board.
3. Select the filter criteria as required (for example, by priority, assignee, or labels).
4. The board will update automatically to show only matching cards.
Filtered results are applied instantly.
## **Adjusting the Timeline in Gantt View**
Gantt View allows you to adjust the visible timeline to focus on specific date ranges and time spans.
### **Applying Filters**
To apply filters on a board:
1. Open the **Boards** tab in a channel.
2. Click on the **Filter (funnel) icon** located at the top-right of the board.
3. Select the filter criteria as required (for example, by priority, assignee, or labels).
4. The board will update automatically to show only matching cards.
Filtered results are applied instantly.
## **Adjusting the Timeline in Gantt View**
Gantt View allows you to adjust the visible timeline to focus on specific date ranges and time spans.
 ### **Changing the Date Range**
To navigate through the timeline:
1. Open the **Boards** tab and switch to **Gantt View** (if not already selected).
2. Use the **left and right arrow buttons** near the date range to move backward or forward in time.
3. The displayed timeline will update to reflect the selected date range.
### **Zooming the Timeline**
To adjust the timeline scale:
1. Locate the **zoom control** on the Gantt toolbar.
2. Select a duration (for example, **21 days**) or use the zoom buttons to zoom in or out.
3. The timeline will resize to show more or fewer days at a time.
This helps in viewing tasks at different levels of detail.
### **Changing the Date Range**
To navigate through the timeline:
1. Open the **Boards** tab and switch to **Gantt View** (if not already selected).
2. Use the **left and right arrow buttons** near the date range to move backward or forward in time.
3. The displayed timeline will update to reflect the selected date range.
### **Zooming the Timeline**
To adjust the timeline scale:
1. Locate the **zoom control** on the Gantt toolbar.
2. Select a duration (for example, **21 days**) or use the zoom buttons to zoom in or out.
3. The timeline will resize to show more or fewer days at a time.
This helps in viewing tasks at different levels of detail.