> ## Documentation Index
> Fetch the complete documentation index at: https://docs.proddyai.app/llms.txt
> Use this file to discover all available pages before exploring further.
# Notes
> Notes is a shared writing space that allows teams to capture ideas, meeting points, and documentation in a structured format. It helps users organize information, collaborate on written content, and use AI-powered formatting to turn unstructured text into clear, well-organized notes.
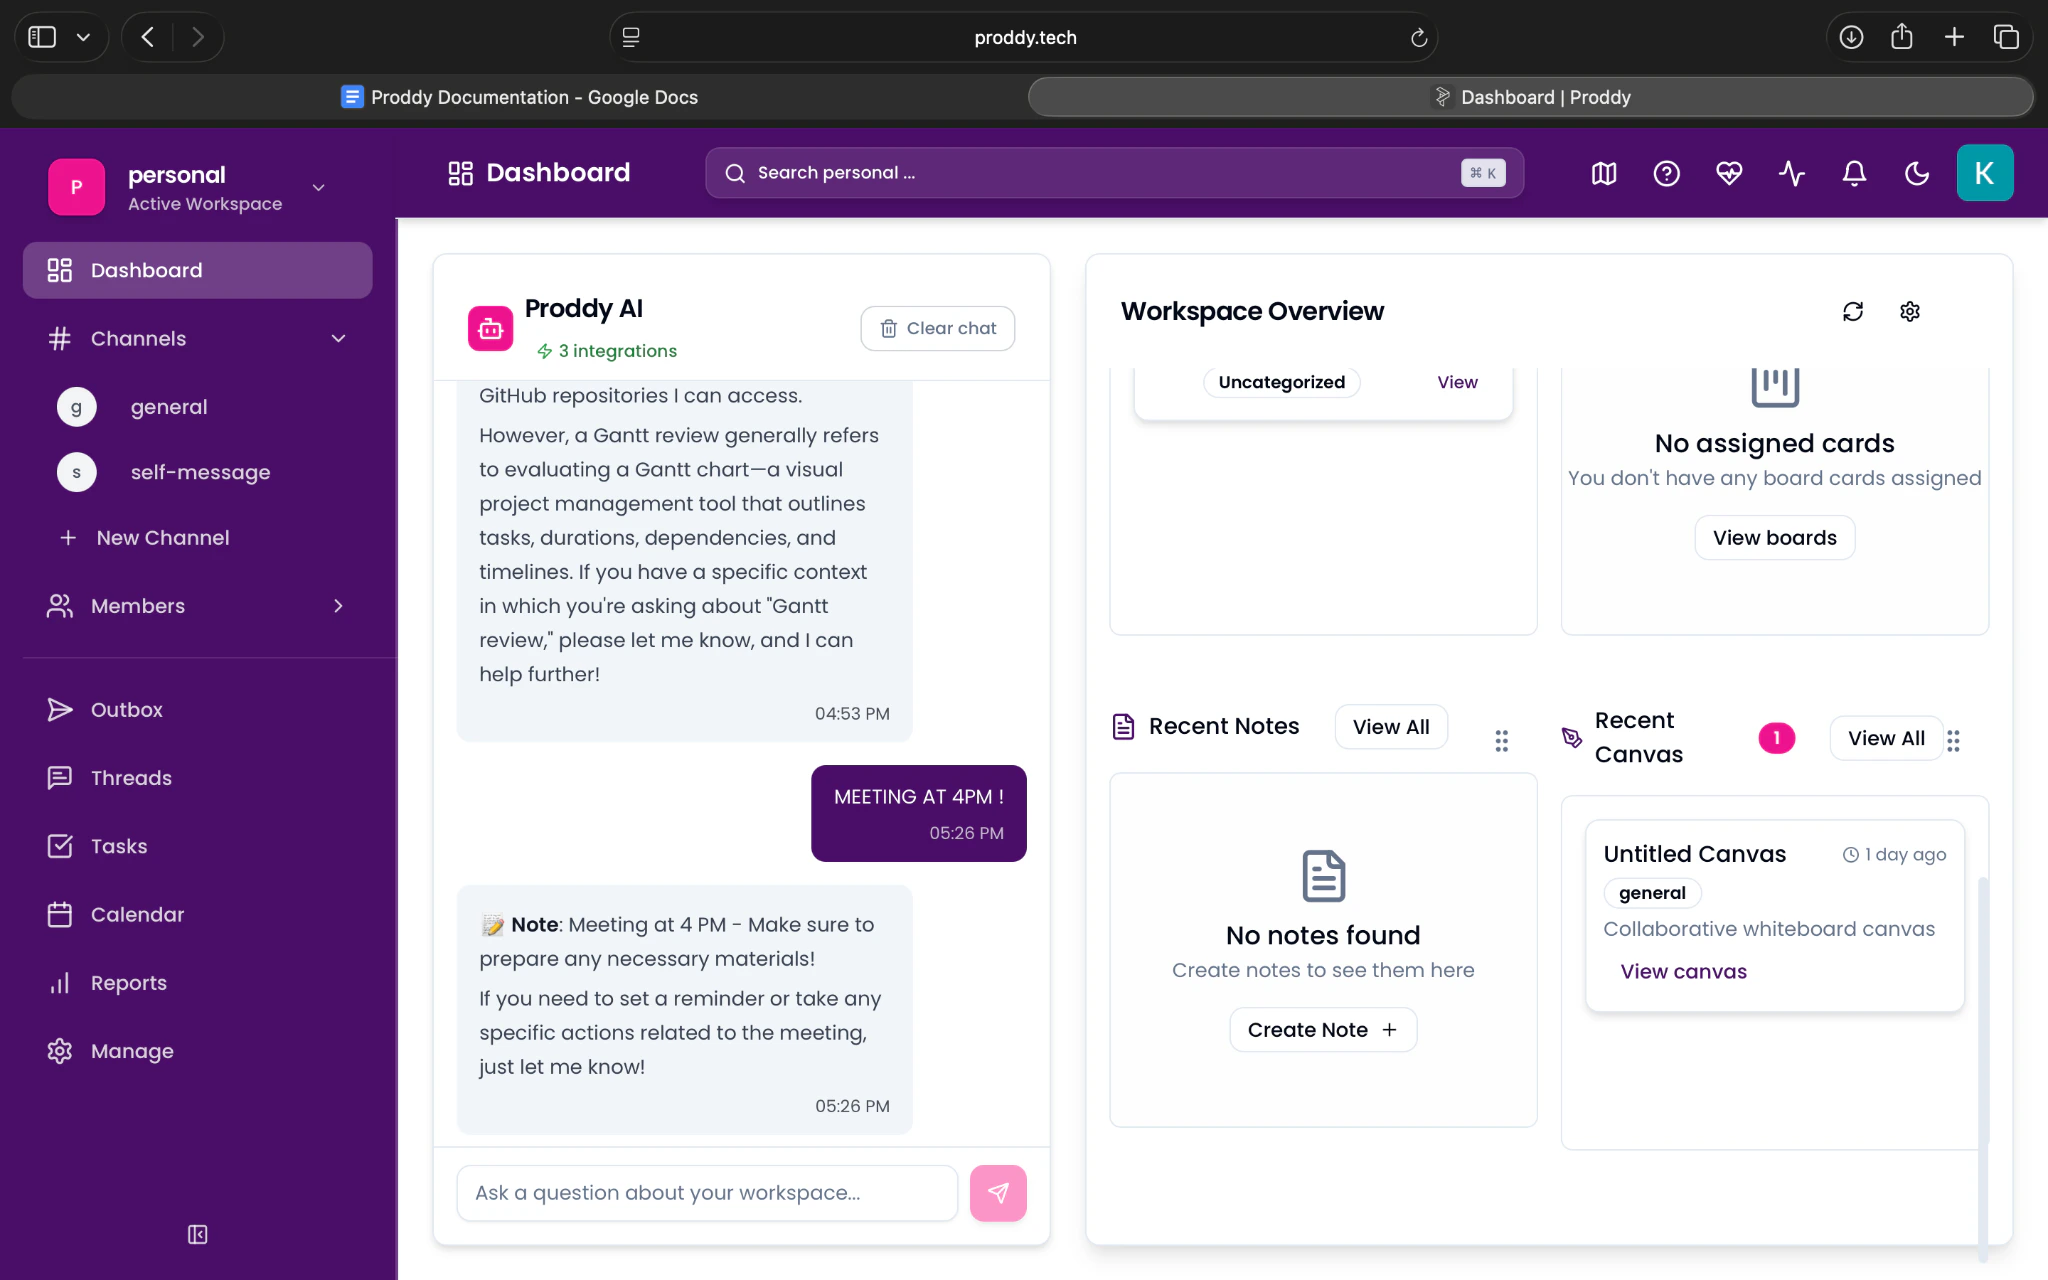
## To create a note:
1. Open the Dashboard by clicking on the Dashboard button on the top left corner.
2. In the Workshop Overview, scroll down to the bottom.
3. There you will see, **Recent Notes**
4. Click on “**Create note**”
5. Again then click on “**Create note**”
6. Note will be created.
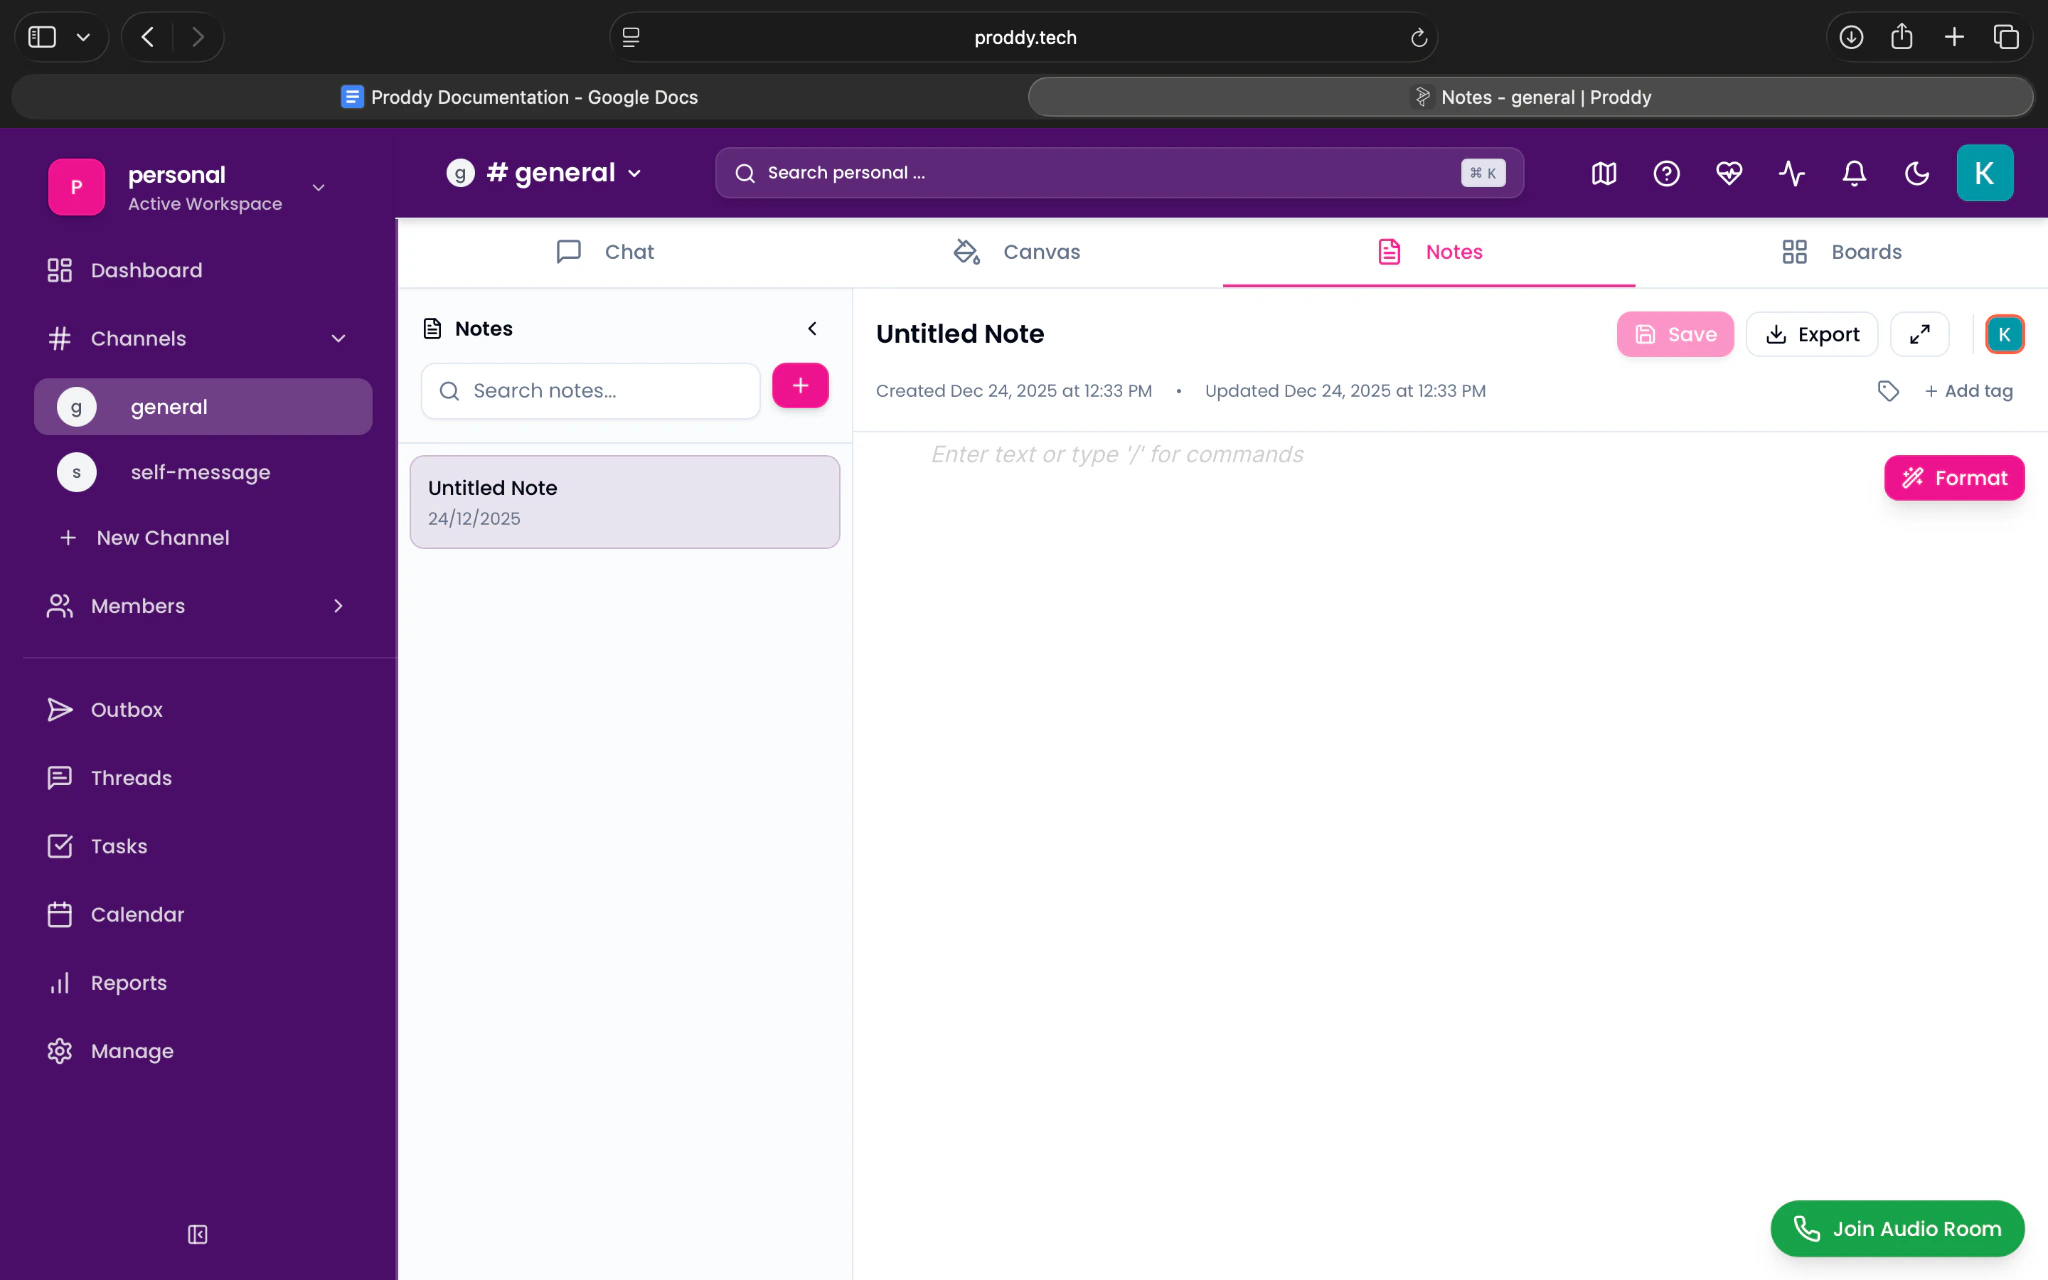
 Writing in a note:
1. To Open an existing note, go to the channels and go to **general.**
2. Click on **Notes** in the top bar
3. Click on the note you want to access in the bar on the left.
4. It will open the note, Click on the white space where “Enter text or type ‘/’ for commands” is written and type the text accordingly.
Writing in a note:
1. To Open an existing note, go to the channels and go to **general.**
2. Click on **Notes** in the top bar
3. Click on the note you want to access in the bar on the left.
4. It will open the note, Click on the white space where “Enter text or type ‘/’ for commands” is written and type the text accordingly.
 ## Renaming a Note:
1. Go to the general channel, from the left most bar.
2. Click on Notes in the top bar
3. Hover your cursor on the note you want to rename.
4. You will see 3 dots (...) , click on them
You will then see the option to Rename your note
## Deleting a Note:
1. Go to the general channel, from the left most bar.
2. Click on Notes n the top bar
3. Hover your cursor on the note you want to rename.
4. You will see 3 dots (...) , click on them
5. You will then see the option to Delete.
6. Only delete after discussion with your team, this action is irreversible.
**Formatting a Note**
To format text inside a note:
1. Open the note by navigating to the **general channel** from the left sidebar.
2. Click on **Notes** in the top bar.
3. Select the note you want to format from the left panel.
4. Click anywhere inside the note editor. 5. Use the formatting toolbar to:
5. Bold or italicise text
6. Create bullet points or numbered lists
7. Add headings for structure
## Renaming a Note:
1. Go to the general channel, from the left most bar.
2. Click on Notes in the top bar
3. Hover your cursor on the note you want to rename.
4. You will see 3 dots (...) , click on them
You will then see the option to Rename your note
## Deleting a Note:
1. Go to the general channel, from the left most bar.
2. Click on Notes n the top bar
3. Hover your cursor on the note you want to rename.
4. You will see 3 dots (...) , click on them
5. You will then see the option to Delete.
6. Only delete after discussion with your team, this action is irreversible.
**Formatting a Note**
To format text inside a note:
1. Open the note by navigating to the **general channel** from the left sidebar.
2. Click on **Notes** in the top bar.
3. Select the note you want to format from the left panel.
4. Click anywhere inside the note editor. 5. Use the formatting toolbar to:
5. Bold or italicise text
6. Create bullet points or numbered lists
7. Add headings for structure
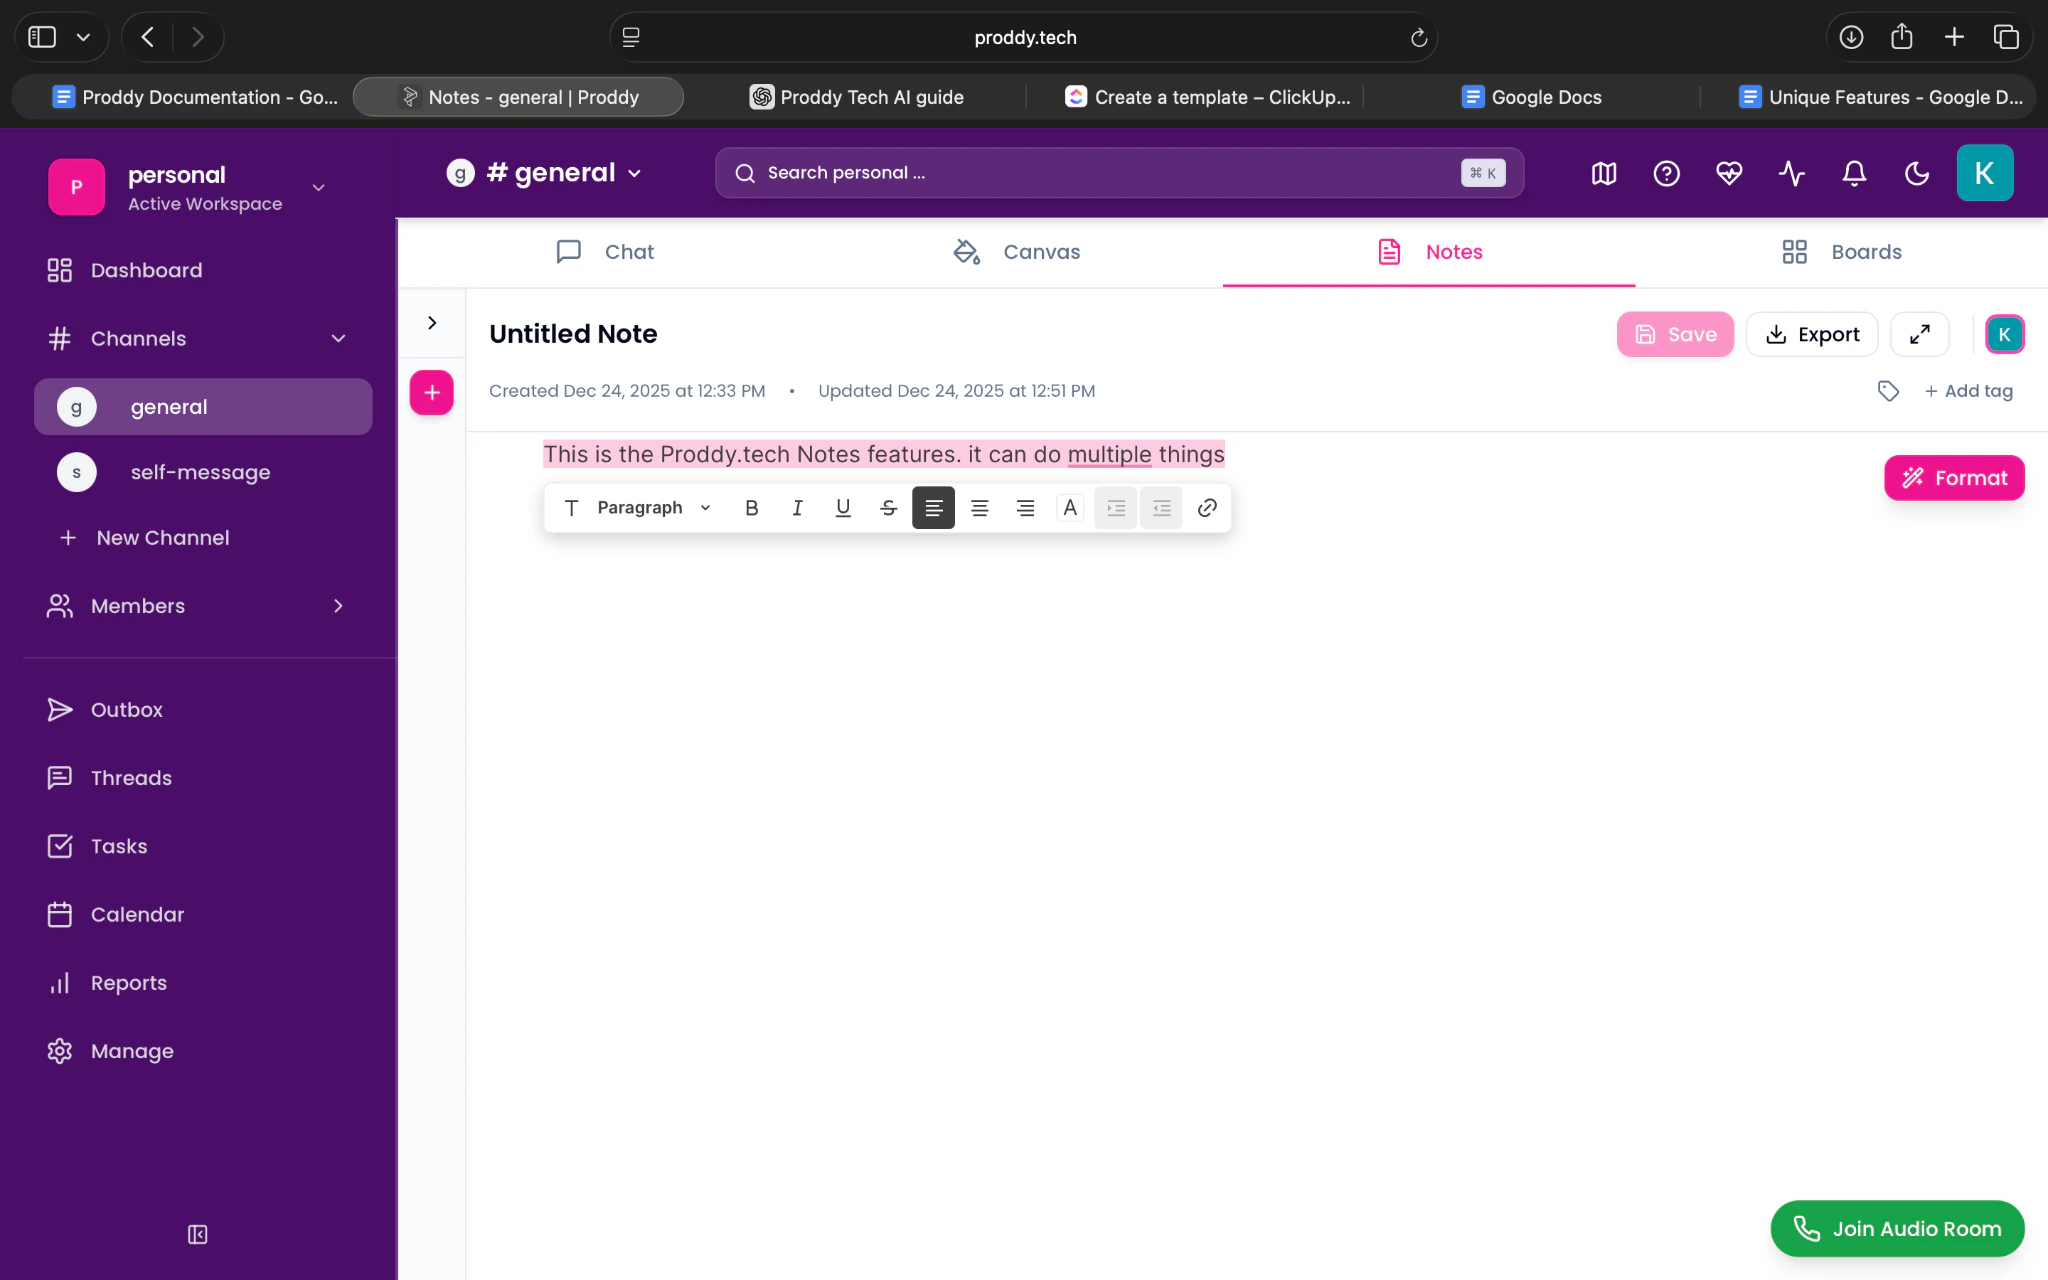 8. You can also type **“/”** to view available formatting commands.
***
## **Searching for a Note**
To search for an existing note:
1. Go to the **general channel** from the left sidebar.
2. Click on **Notes** in the top bar.
3. Use the **Search notes** bar at the top of the notes panel.
4. Type the name or keyword related to the note.
5. Click on the note from the search results to open it.
## **Organising Notes**
To keep notes organised:
1. Navigate to **Notes** from the top bar.
2. Rename notes clearly based on their purpose.
3. Use separate notes for different topics or meetings.
4. Regularly delete notes that are no longer required.
This helps keep the Notes section clean and easy to navigate.
## **Formatting Notes Using AI**
To format notes using AI:
1. Open a note in the **Notes** tab.
2. Enter or paste unformatted text into the note editor.
3. Select the text you want to format (or keep all text selected).
4. Click on the **AI formatting** option available in the notes toolbar.
5. Confirm the action.
The AI will automatically format the content.
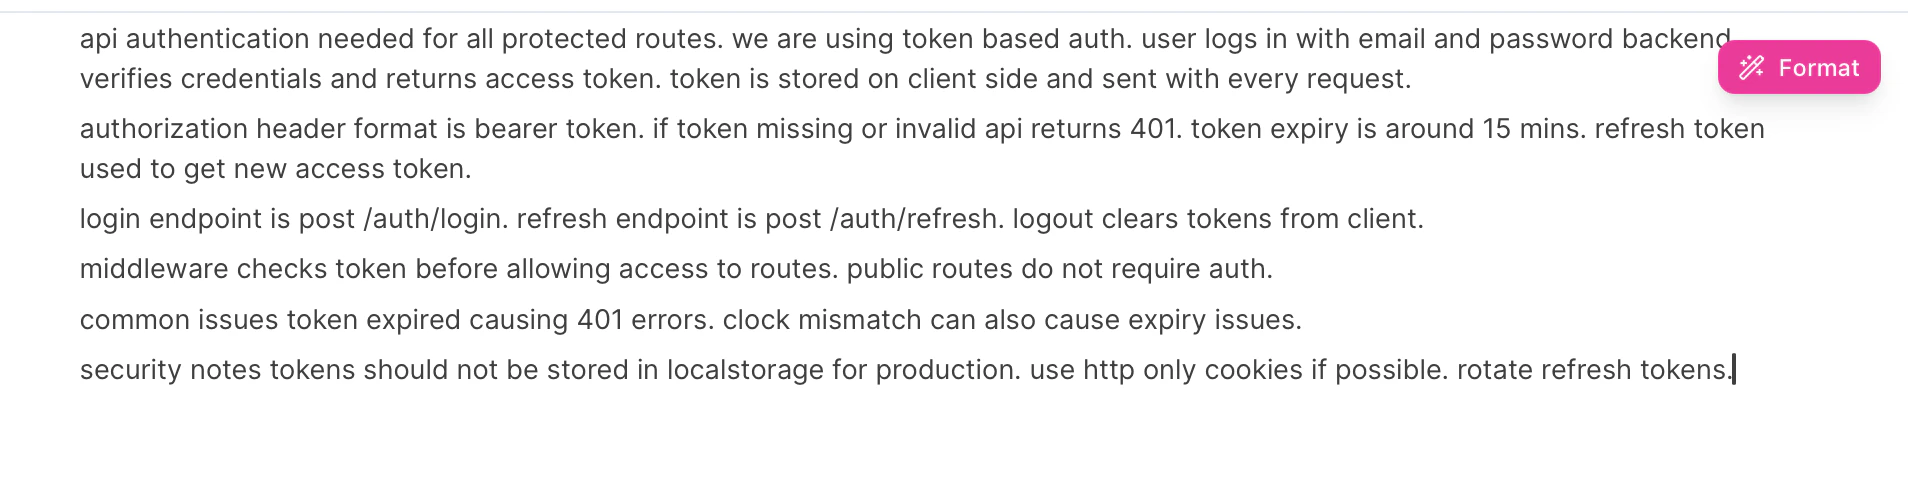
Before
8. You can also type **“/”** to view available formatting commands.
***
## **Searching for a Note**
To search for an existing note:
1. Go to the **general channel** from the left sidebar.
2. Click on **Notes** in the top bar.
3. Use the **Search notes** bar at the top of the notes panel.
4. Type the name or keyword related to the note.
5. Click on the note from the search results to open it.
## **Organising Notes**
To keep notes organised:
1. Navigate to **Notes** from the top bar.
2. Rename notes clearly based on their purpose.
3. Use separate notes for different topics or meetings.
4. Regularly delete notes that are no longer required.
This helps keep the Notes section clean and easy to navigate.
## **Formatting Notes Using AI**
To format notes using AI:
1. Open a note in the **Notes** tab.
2. Enter or paste unformatted text into the note editor.
3. Select the text you want to format (or keep all text selected).
4. Click on the **AI formatting** option available in the notes toolbar.
5. Confirm the action.
The AI will automatically format the content.
Before
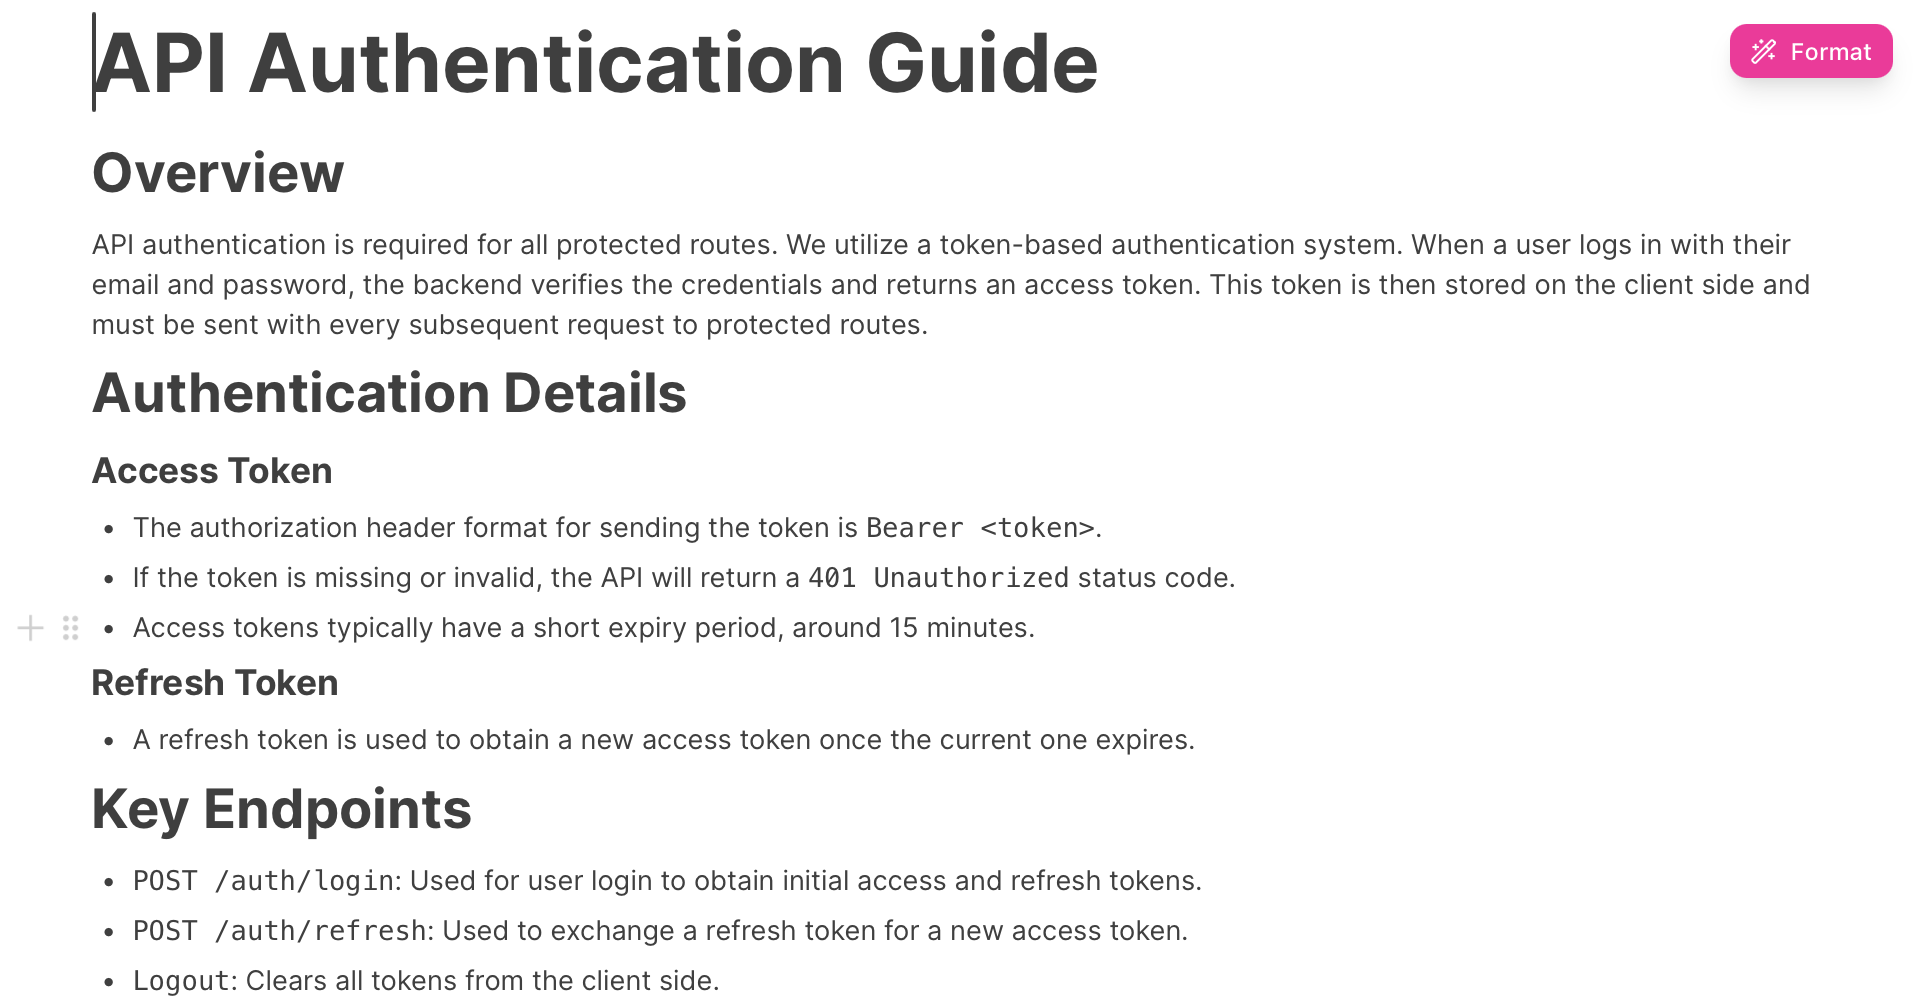
 After
After